The Simple Guide to Sanding Pine Floors
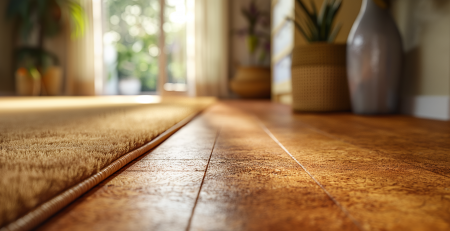
Transforming your home goes beyond mere decoration; it involves restoring and enhancing its core components, with pine floors being a prime example. These floors boast warm hues and distinctive grain patterns that can add both brightness and a sense of spaciousness to any room.
Despite its inviting appearance, pine is a softwood that demands a careful and systematic approach to sanding. This might seem intimidating at first, but with the right guidance, it becomes a manageable and satisfying DIY project.
Our guide is designed to provide you with all the necessary information to prepare and sand your pine floors effectively. By following these steps, you will gain the confidence and skills needed to bring out the best in your floors, ensuring they complement and enhance your home’s overall aesthetic.
Understanding Pine Floors
Pine, a softwood, presents a unique set of challenges and rewards for the DIY enthusiast. Recognising its nature is the first step toward a successful restoration. Unlike hardwoods, pine is more susceptible to dents and scratches, necessitating a gentler approach during sanding. This sensitivity, however, is not a drawback but an invitation to engage more deeply with the material, understanding its characteristics and how they contribute to your home’s overall aesthetics.
Embracing the DIY ethic not only offers personal satisfaction from a job well done but also proves cost-effective, allowing for a significant transformation of your living space without the burden of heavy professional fees.
Laying the Groundwork
 A successful sanding project truly hinges on the diligence of its preparation phase. This initial step involves a thorough inspection and remediation of the floor’s physical condition. Loose boards must be securely fastened, as they can cause inconsistencies during the sanding process. Nails that protrude are particularly problematic, as they not only pose a risk of damaging the sanding equipment but can also lead to unsightly marks or an uneven surface finish. Gaps between boards present another challenge; they can either be filled with a suitable wood filler to achieve a seamless look or left as is for a more rustic appearance, depending on your desired outcome.
Moreover, comprehensive cleaning of the floor is imperative to remove any particles or dust that could hinder the sanding equipment’s efficiency or mar the finished surface. This preparatory stage is pivotal, setting a solid foundation that will ensure the subsequent sanding efforts are as effective as possible, thereby guaranteeing superior results for your pine flooring project.
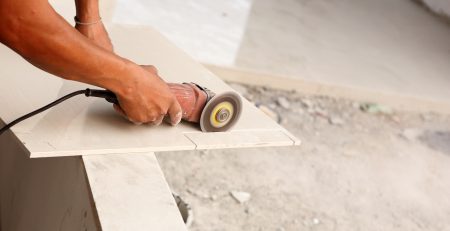
Equipment and Tools
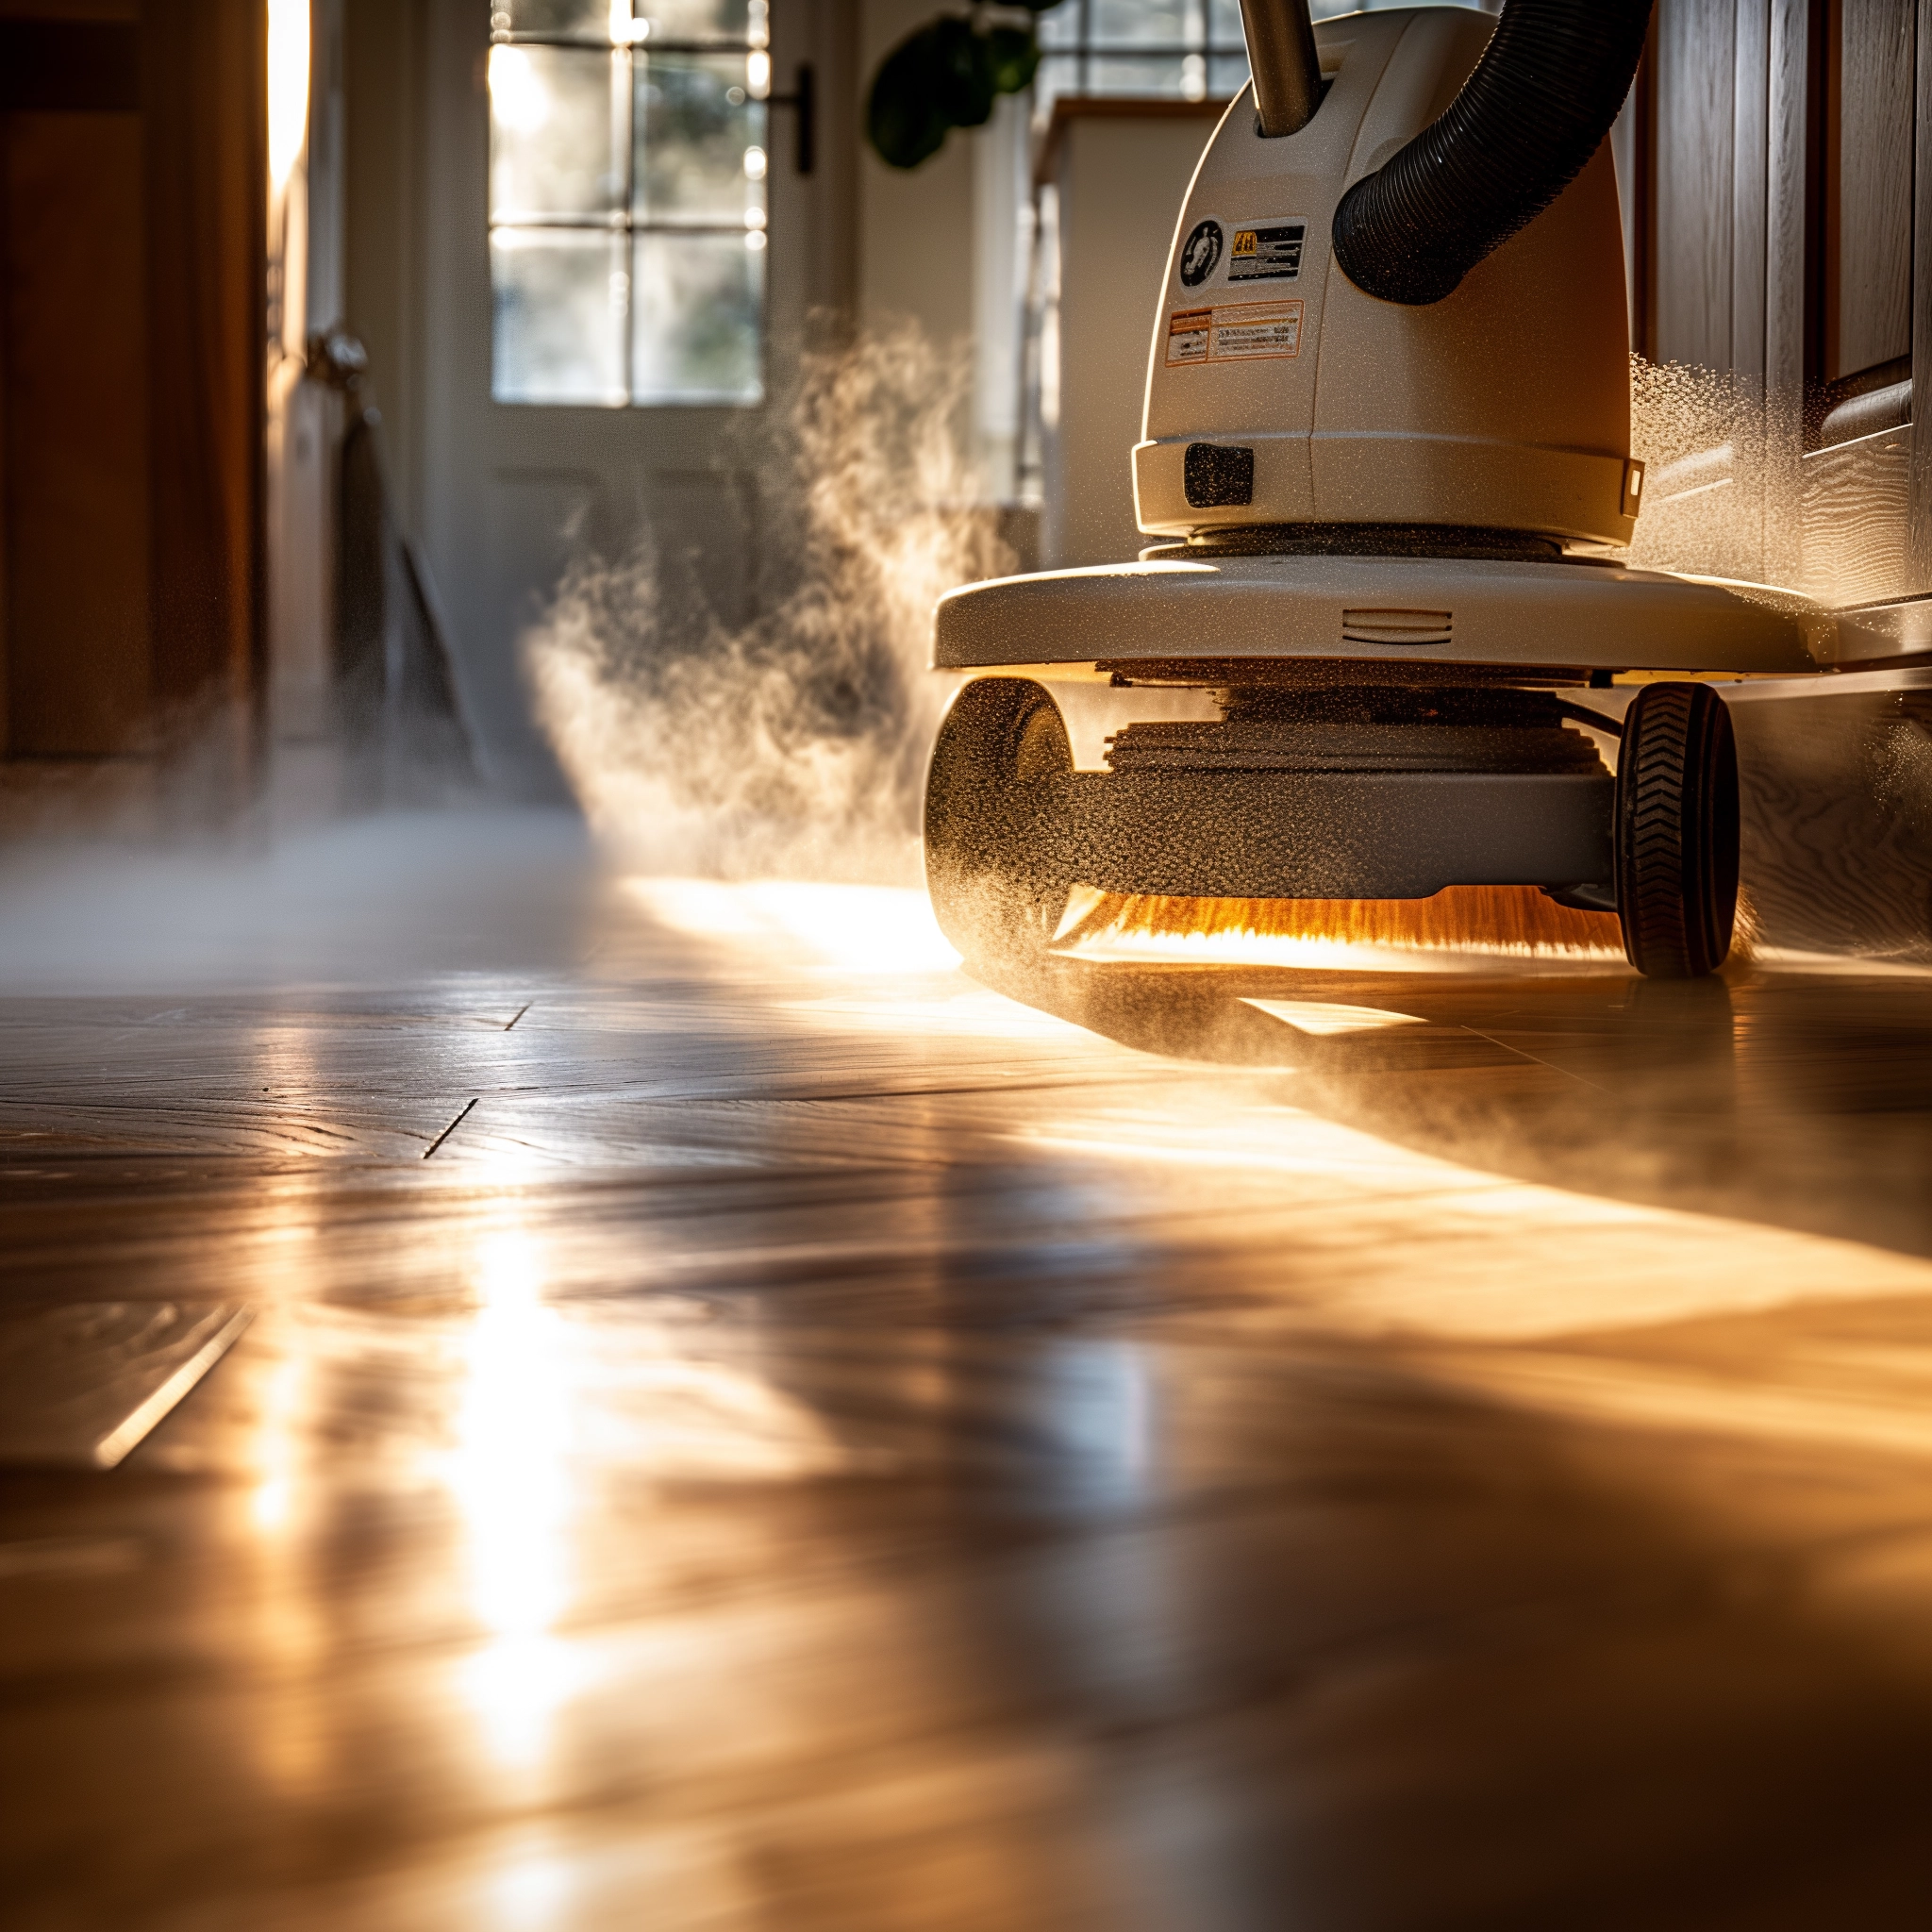
Equipping yourself with the proper tools is essential for transforming your pine floors. A variety of sanders—belt sanders for the initial, coarse sanding, and orbital sanders for the finer, finishing touches—are necessary to address the entire surface effectively.
Detail sanders come in handy for reaching into edges and corners, areas where larger sanders cannot manoeuvre. Complementing these tools with a vacuum cleaner helps manage dust as you work, while a selection of sandpaper, ranging from 60 to 220-grit, allows for gradual refinement of the floor’s surface. This stepwise approach, moving from coarser to finer grits, mirrors the care and attention needed to bring out the best in your pine floors.
Sanding Process: Technique and Precision
The actual sanding begins with coarse grit sandpaper, which is tasked with removing old finishes and evening out significant imperfections. This first pass is more about correction than perfection, setting the stage for the finer work to follow.
Transitioning to medium and then fine-grit sandpapers allows for a gradual smoothing of the surface, with each pass erasing the marks of the previous one until the wood’s natural beauty begins to shine through. It’s essential to sand in the direction of the grain; this prevents scratches that could mar the wood’s appearance and ensures a more uniform finish. Overlapping passes help avoid missed spots, contributing to an even, comprehensive treatment of the floor.
“As professional sanders, we approach each floor with respect, understanding that every grain tells a story. Our technique is not just about removing the old but uncovering and enhancing the wood’s inherent beauty. We meticulously move from coarser to finer grits, ensuring each pass perfectly aligns with the wood’s natural grain. This careful, precise process eliminates imperfections, preparing the floor for a flawless finish. It’s an art form where patience, precision, and a deep appreciation for the material converge, resulting in a beautifully rejuvenated surface that stands the test of time.”- Jim Goodall, GJP Floor Sanding.
Dust Management: Protecting Your Health and Your Home
Dust management is a critical aspect of the sanding process, not just for the sake of cleanliness but also for health. Pine dust can be irritable and harmful over long exposures, making it essential to vacuum between sanding passes and wear protective gear, including masks and goggles.
Ensuring good ventilation further mitigates the risk, keeping the workspace clear of airborne particles. This focus on safety extends the life of your project and safeguards your health, allowing you to enjoy the fruits of your labour without compromise.
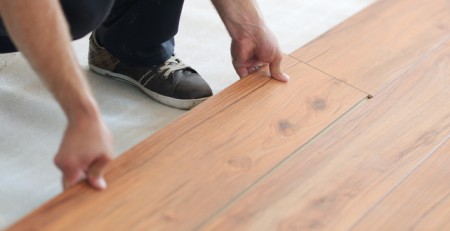
Finishing Touches
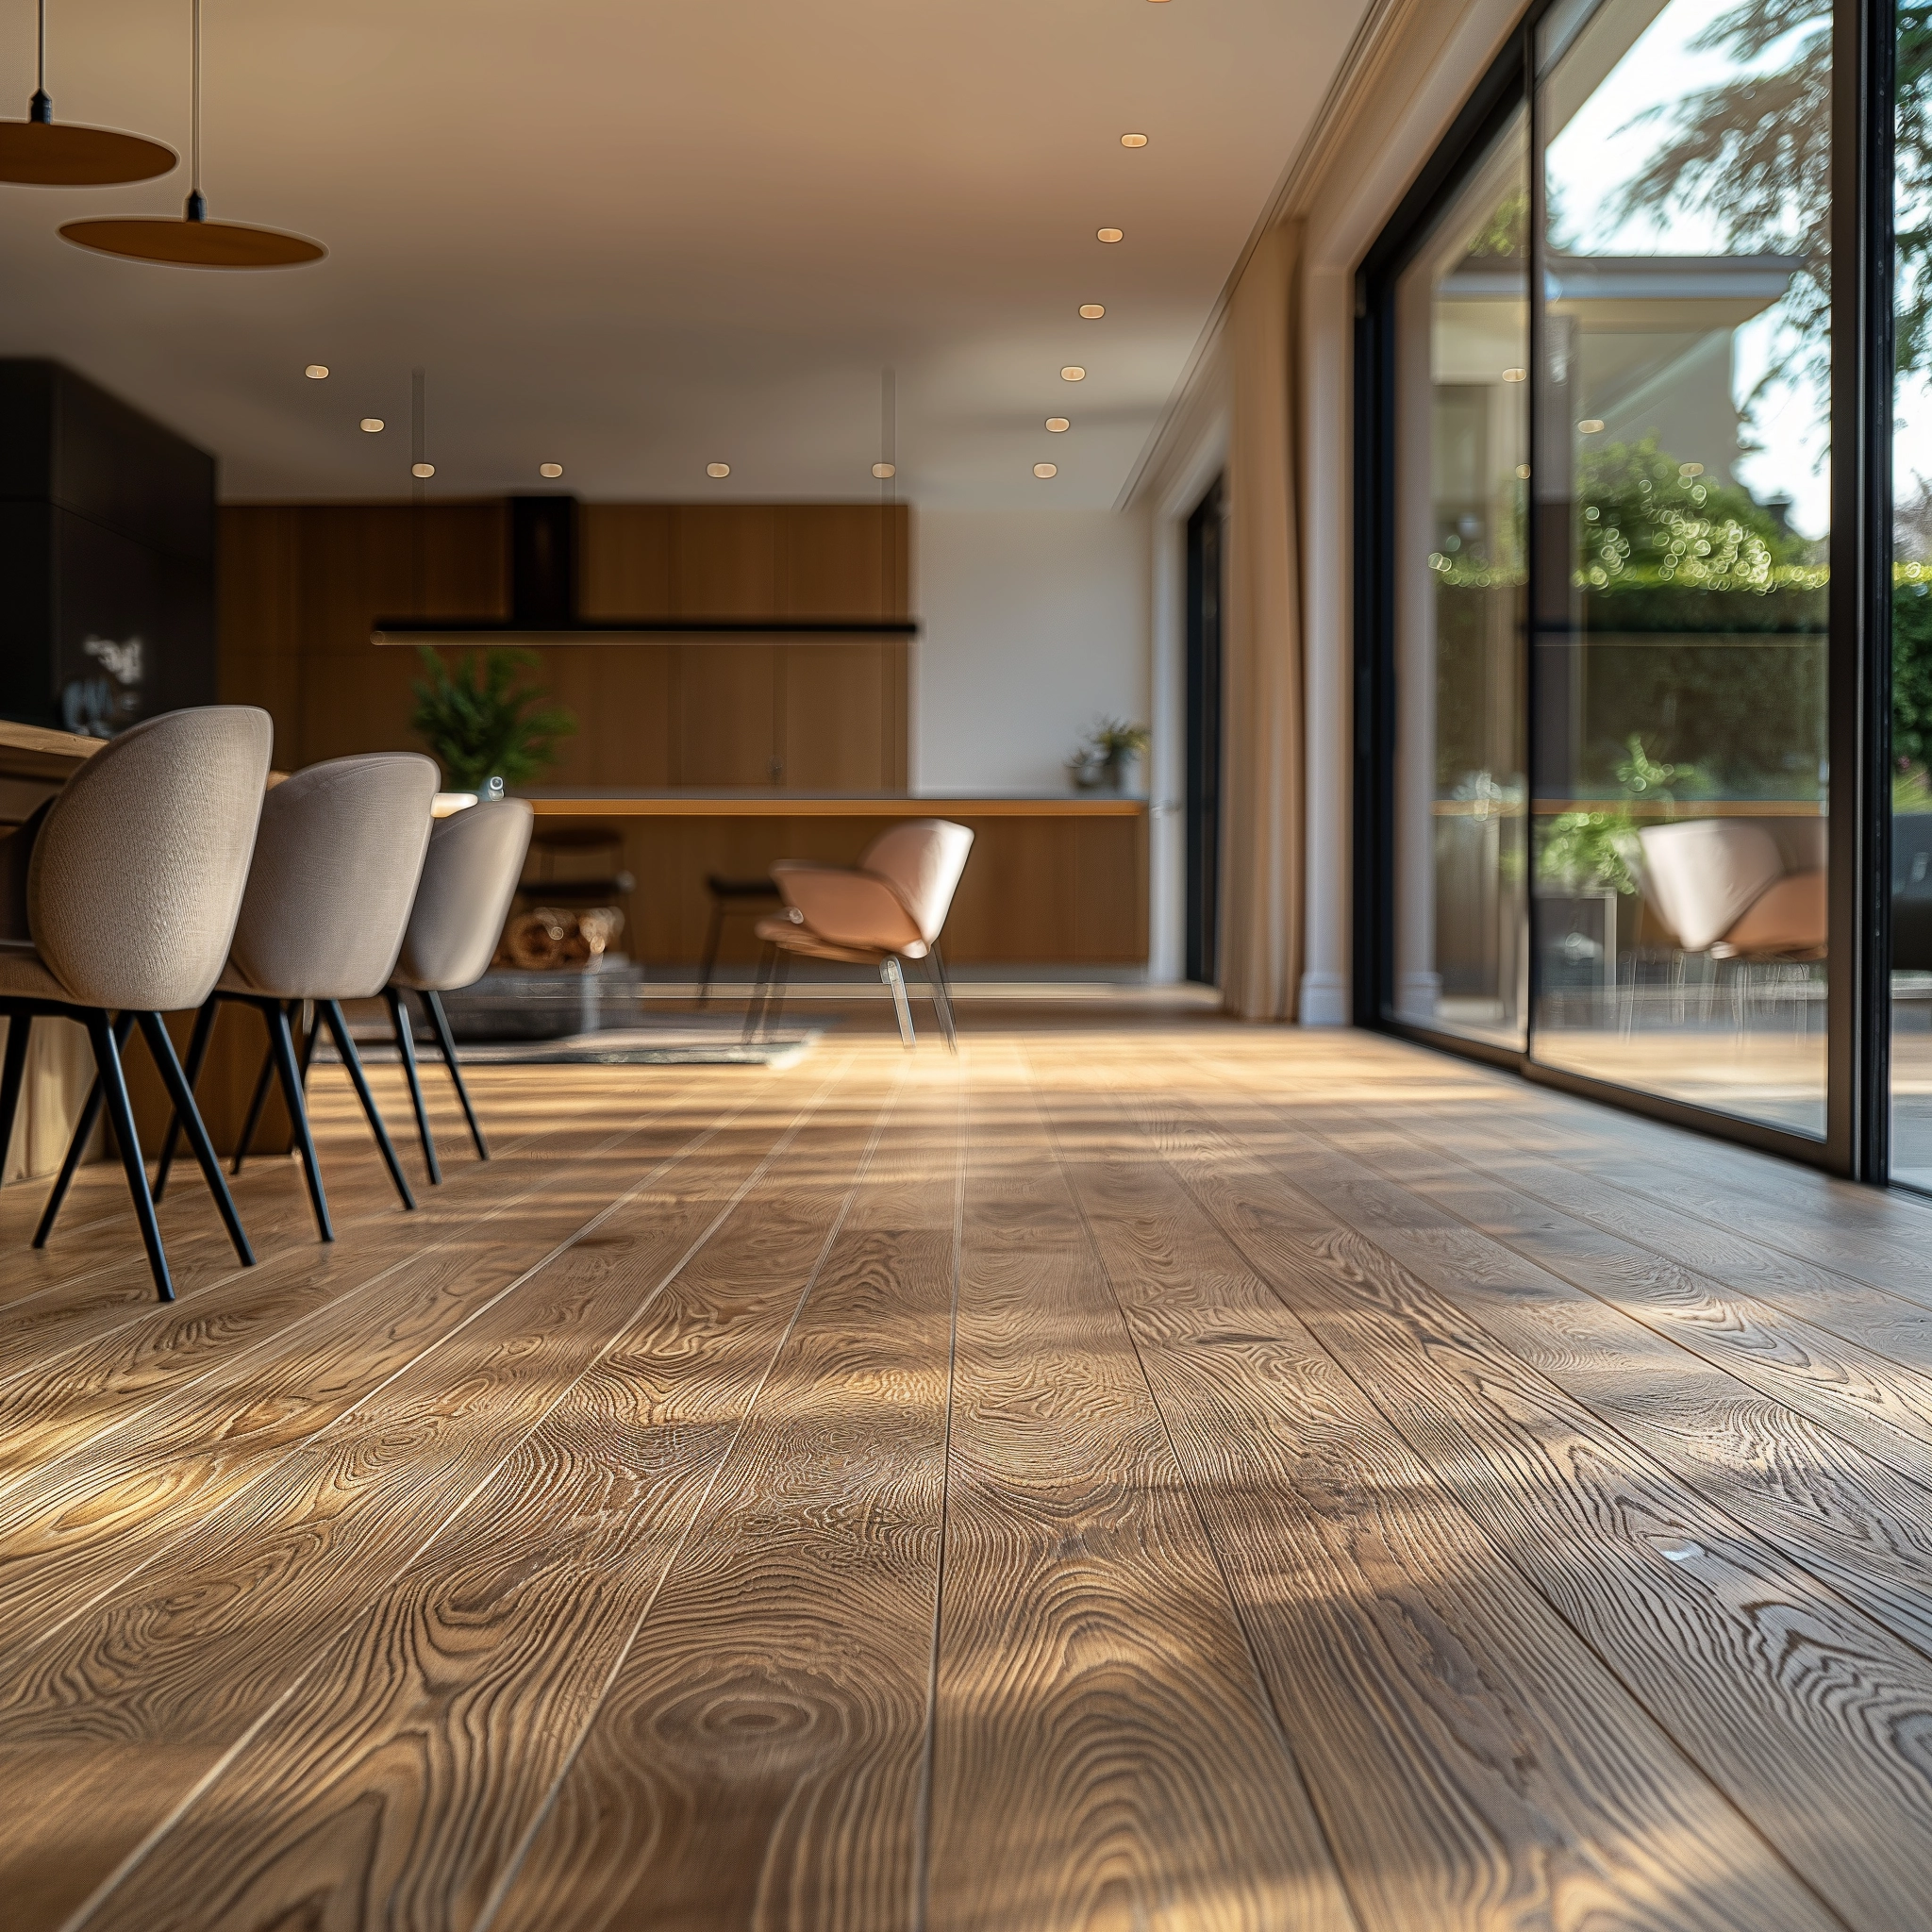 With the sanding complete, the final step involves filling any remaining nail holes and applying your chosen finish. Whether you opt for a stain that accentuates the pine’s natural colour or a sealant that offers protection while keeping the wood’s raw beauty, this stage is about enhancing and preserving the surface.
The finish not only adds aesthetic value but also serves as a barrier against wear and tear, ensuring your floors remain a centrepiece of your home for years to come.
Maintenance and Care
The transformation of your space through sanding your pine floors is not just a project but a commitment to the beauty and longevity of your home. Regular maintenance, including gentle cleaning and the occasional touch-up, will keep your floors looking their best.
Moreover, taking care of your sanding equipment ensures it remains ready for future projects, making this DIY endeavour a gift that keeps on giving.
Final Thoughts
Sanding pine floors is much more than a simple refurbishment task; it’s an intimate process of engaging with the very material and craftsmanship that embody the essence of your home’s character. This guide is crafted to be your thorough ally throughout this endeavour, ensuring that from the initial preparation to the final strokes of sealant, every phase is undertaken with meticulous care, precision, and a keen sense of aesthetic appreciation.
By adhering to the detailed steps and advice provided, you’re not just restoring your floors but also honouring and revitalising the craftsmanship and beauty that lie at the heart of your living space.